How does Microsoft Purview Sensitivity Labels work?
Data privacy and security have become increasingly important concerns for businesses and organizations of all sizes. With the rise of cyberattacks and data breaches, protecting sensitive data has become a top priority. Microsoft Purview Sensitivity labels enables organizations to encrypt sensitive data and protect it from unauthorized access.
Microsoft Purview Sensitivity labels work by encrypting data based on the sensitivity level of the data. For example, highly confidential data may be encrypted with the highest level of encryption, while confidential data may be encrypted with a different lower level of encryption. The encryption ensures that only authorized users can access the data, and unauthorized users are unable to read or view the data. The labels can be applied automatically based on specific sensitive information type discovered or manually by the user.
How to set up Microsoft Purview Sensitivity Labels
To set up the sensitivity labels you must have one of the below license types.
For manual sensitivity labelling, the following licenses provide user rights:
- Microsoft 365 E5/A5/G5/E3/A3/G3/F1/F3/Business Premium
- Enterprise Mobility + Security E3/E5
- Office 365 E5/A5/E3/A3
- AIP Plan 1
- AIP Plan 2
For automatic sensitivity labelling, the following licenses provide user rights:
- Microsoft 365 E5/A5/G5
- E5 Compliance
- Microsoft 365 E5/A5/G5 Information Protection and Governance
- Office 365 E5/A5/G5
The Compliance Administrator role is enough to configure the sensitivity labels from the portal.
Steps to create the Sensitivity Labels:
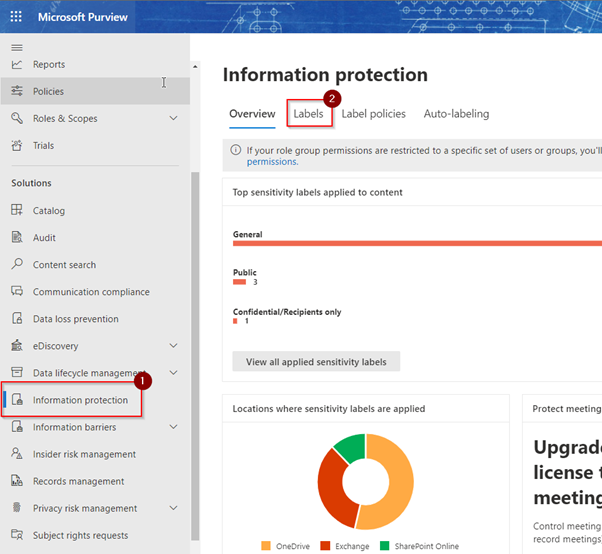
- Visit Microsoft Purview compliance portal and select Information Protection under the solutions and click on labels
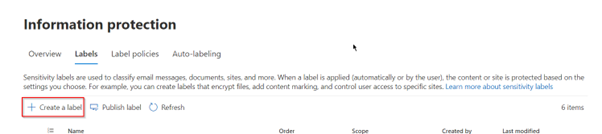
- From the labels tab, click on create labels to create your label
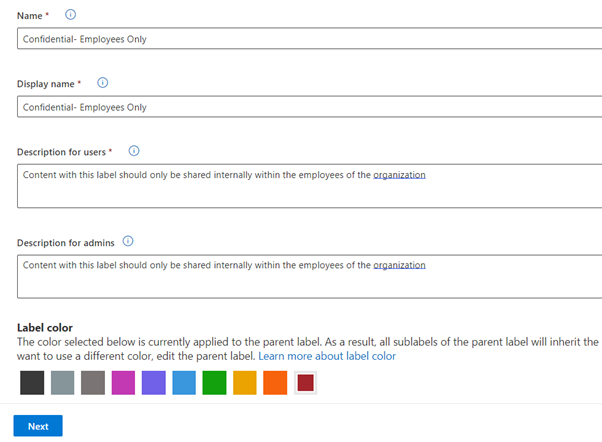
- Give your label an appropriate name and description then click next
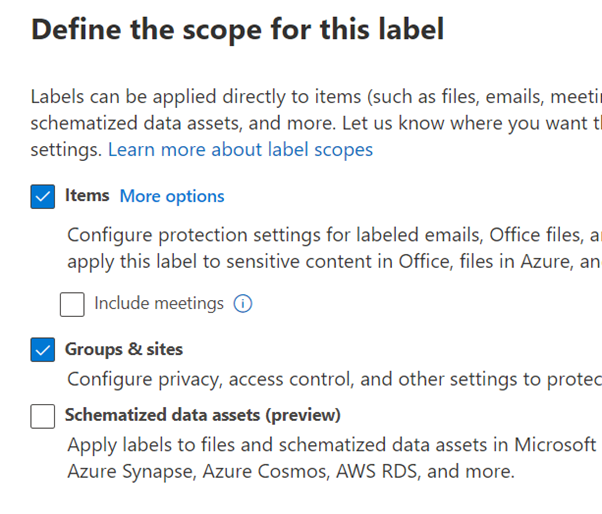
- Then select the locations you want the label to be available for use
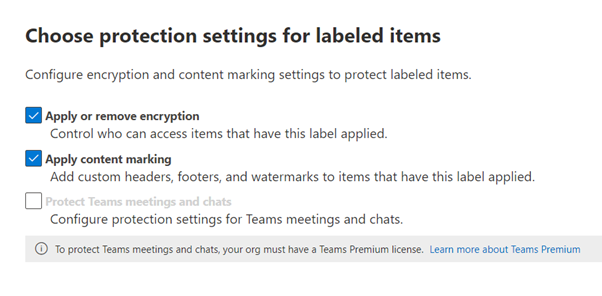
- Under choose protection settings, tick the first two options as seen below. This will allow us to configure encryption for the label and also apply content marking to documents that will have this label applied to
- On the encryption, select Configure encryption settings and click on assign permissions now then select assign permission to define the encryption that we want for the document.
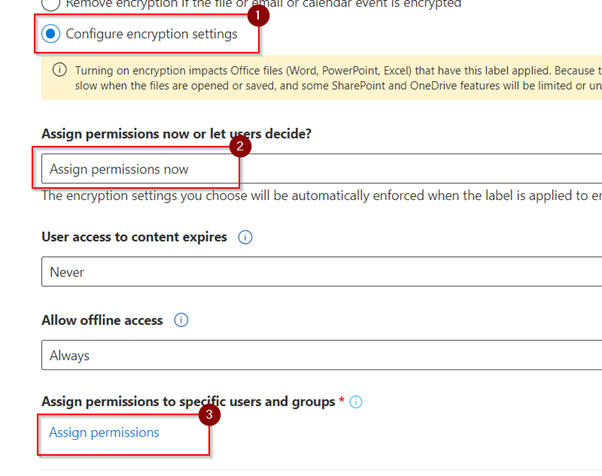
This will take you to the page below to configure the encryption. Here we will select add all users and groups in your organization with the option of selecting the permission we might want them to have. This means that only the people who are part of our organization will be able to open a document or email that contains this sensitivity label.
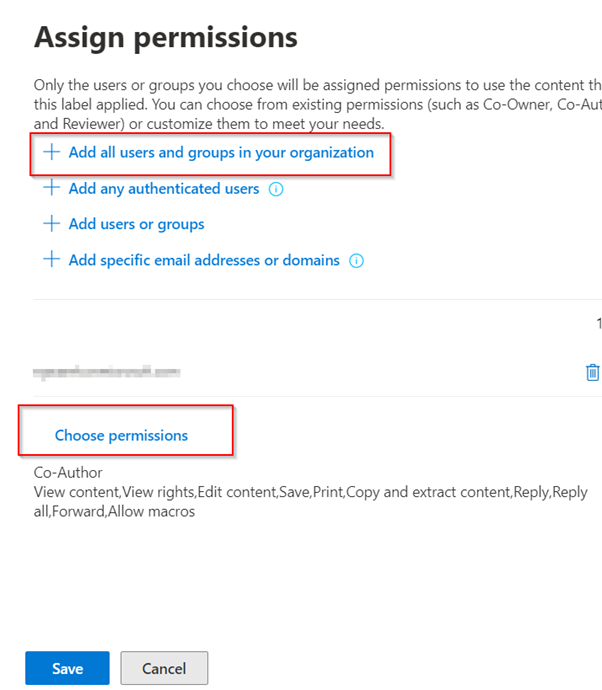
Click save then next to proceeded.
- Under the content marking, turn on the content marking option and tick the add a footer option to configure a footer that you desire
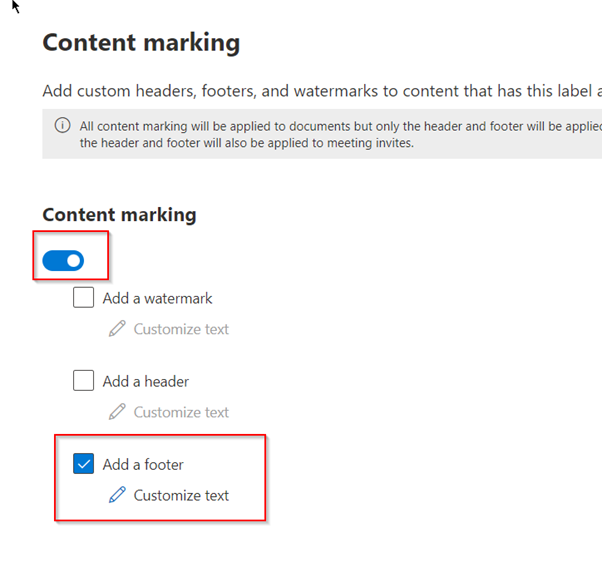
Click the customize text and fill in with the required details. This is settings configures the footer that will be visible to documents and emails when the label is applied.

- Leave the other options as default and click on create label. This will create the label but to make the label visible to end users we will have to publish the label.
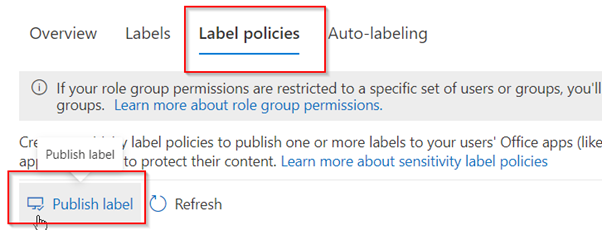
- To publish the label, select the policies tab and click on publish label
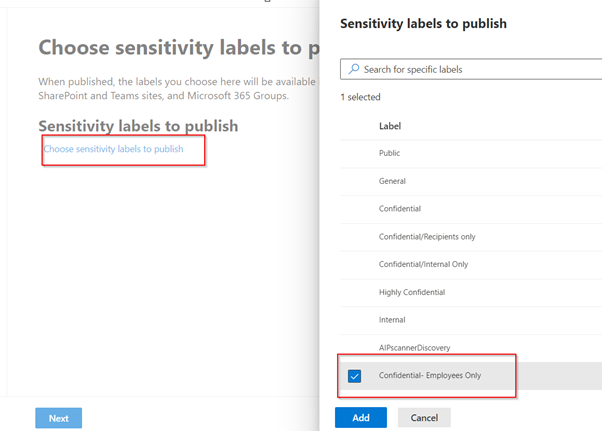
Then click choose sensitivity labels to publish and select the label that we want to publish
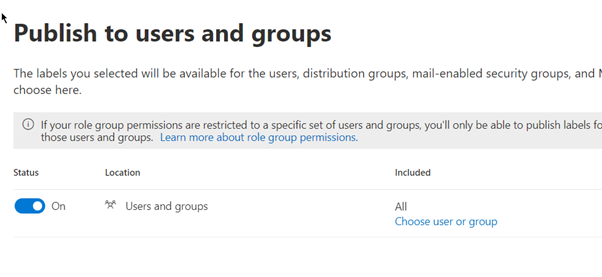
Under the publish to users and groups, select the users you want to receive the labels.
Click next and leave all the other options as default, give the label policy a name and submit to publish it
After the policy has been published, please note it can take up to 24 hours for the users to see the labels