
Privileged Identity Management (PIM) is a service in Azure Active Directory that helps in managing and monitoring the access rights of users who have elevated permissions to perform critical tasks on sensitive systems or data. PIM helps to reduce the risk of unauthorized or malicious use of your privileged accounts.
Privileged Identity Management (PIM) is an Azure AD Premium P2 license feature. To setup PIM, you will need to be assigned the Global administrator role or the Privileged Role Administrator in Azure AD. Once you have the role assigned, navigate to www.entra.microsoft.com , sign in with your admin credentials and select Privileged Identity Management under Identity Governance.

This will open the PIM overview page below.

To start configuring PIM Azure AD roles, we start by selecting the Azure AD roles option just below manage.

This will take you to the Azure AD PIM roles configuration page as seen below. To start managing the roles, select assignments under manage.

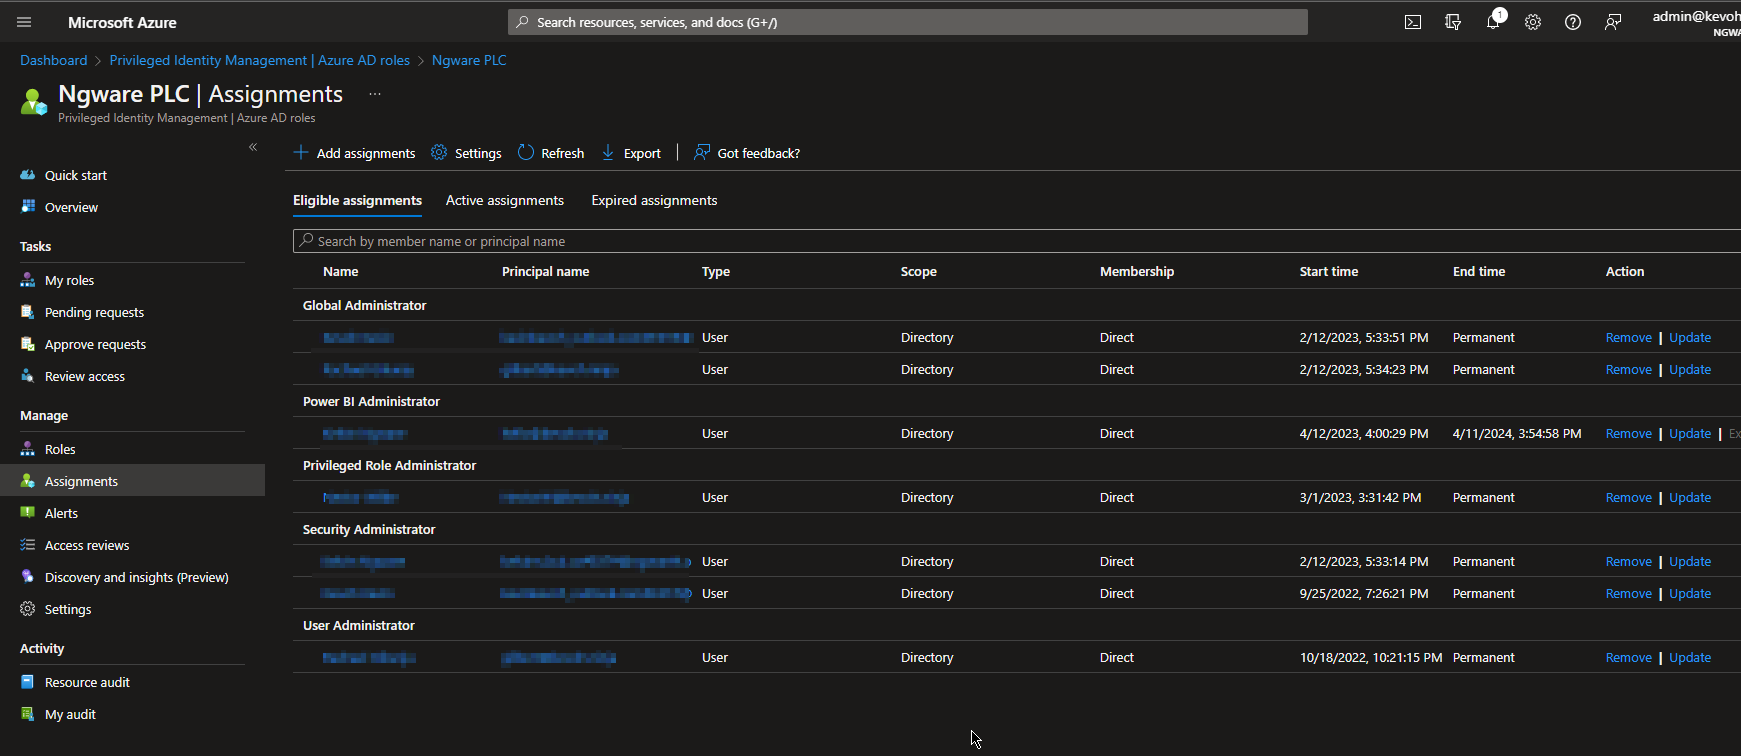
This will open a list of active and eligible role assignments in your tenant.

You will notice that in PIM we have users with eligible assignment and others with active assignments. This means that the users with eligible assignment will need to activate their assigned admin role that they want to use since their role is not set to be permanently available unlike the users with active assignments. Ideally, we want our admins to only have the role on a need to use basis, to achieve this, we will assign a user an eligible assignment and define how the role should be activated and for how long. Click on the add assignment, this will open up a page to define the type of role you want to assign and the users to be assigned the role
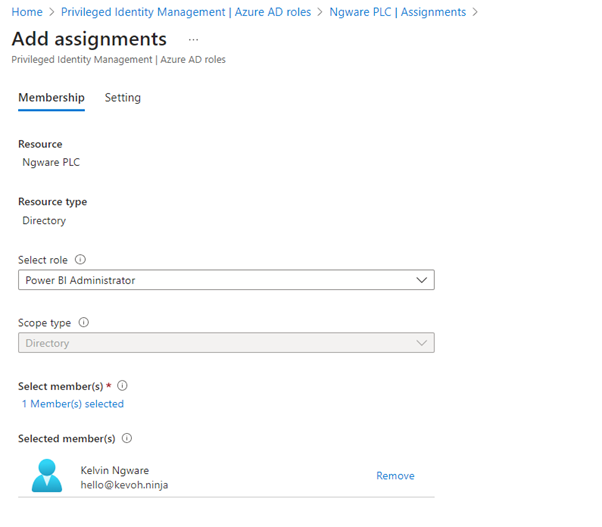
Click on next to define the eligibility criteria for the role. In this case, maybe we have a contractor who just needs the role for a period of one month or an year only, we can select the option Eligible under assignment type then untick the option permanently eligible and select the timeframe we want this contractor to have the eligible admin role and click assign to complete.

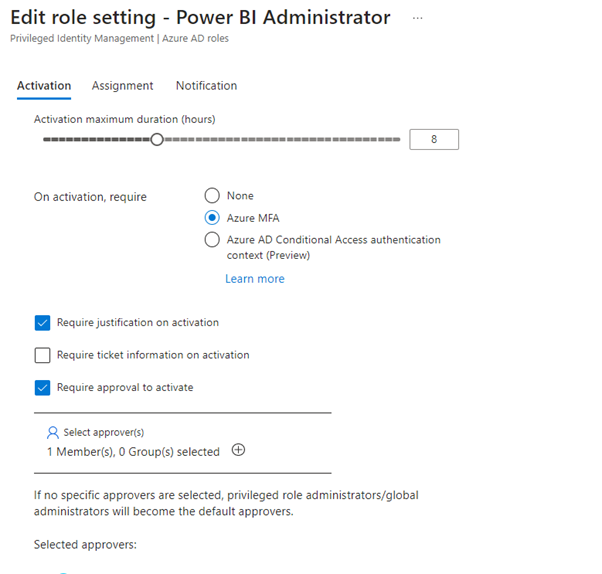
This will now assign the user an eligible role that they can activate when needed. You also have the capability to define the sequence of activities that should happen when a role is to be activated. Click on the settings option under manage and select settings to modify the role settings.

Here you can now edit the role based on your preference such as how long you want the role to be activated for and whether an approval should be required to activate the role.
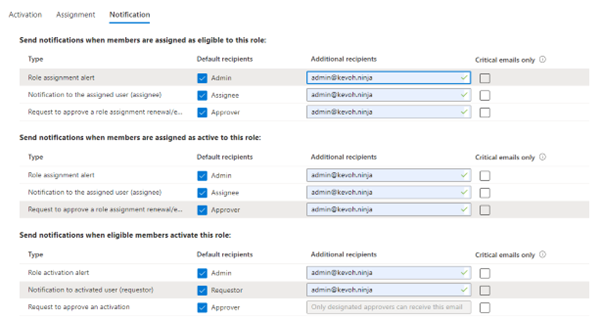
On the notifications tab, you can configure the assignment and approval notifications you would like to receive then click on update to finish modifying the role.
Once we have assigned the eligible role in PIM. The user will receive an email notifying them of the assigned roles.
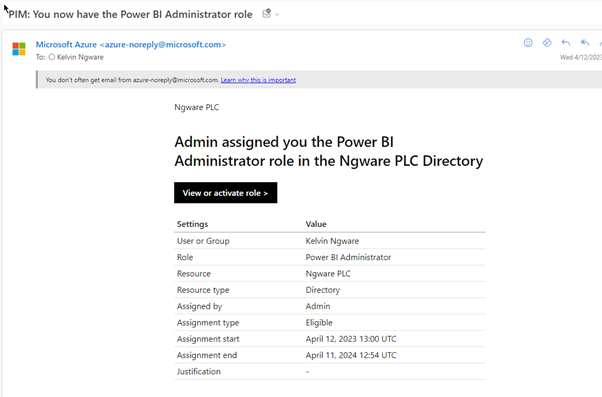
To activate the admin role, you can just click the View or activate role button from the email and it will take you to PIM to finish your activation process.

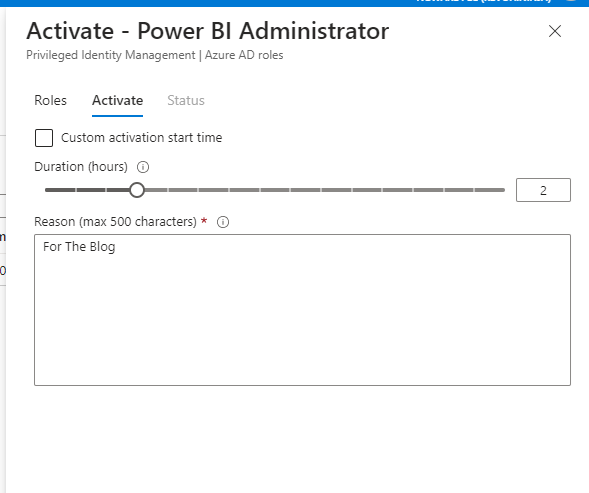
Click the activate option, this will give you an option to customize the duration you want to activate the role for and reason for activating the role then click activate.
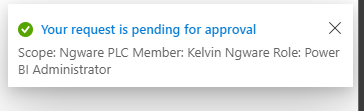
In our case we decided to be restrictive and included the option to require approval when activating the role, approval request will be sent to the designated approver.
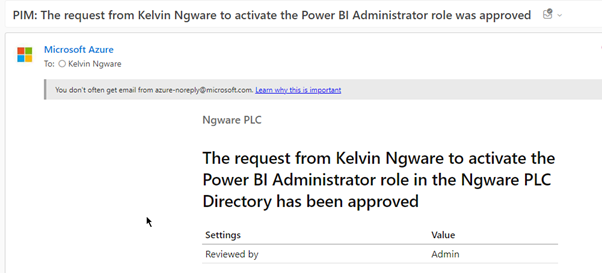
The approver will get an email notification for the activation request.
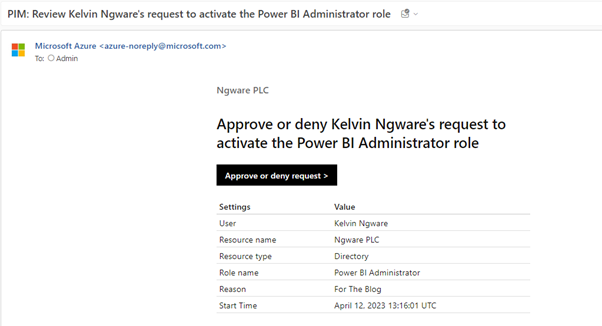
The approver may select the Approve or deny request and this will take them to PIM page to deny or approve the request.
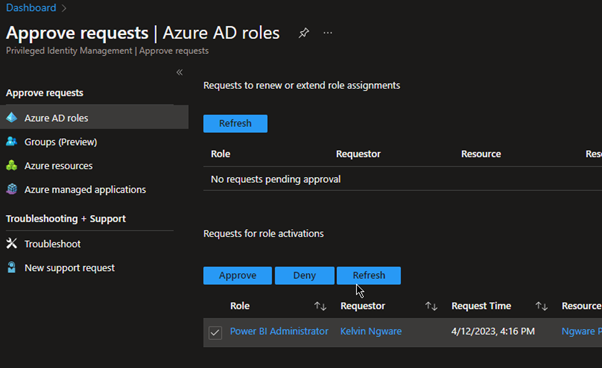
The role will be activated and the user can now use the activated admin rights
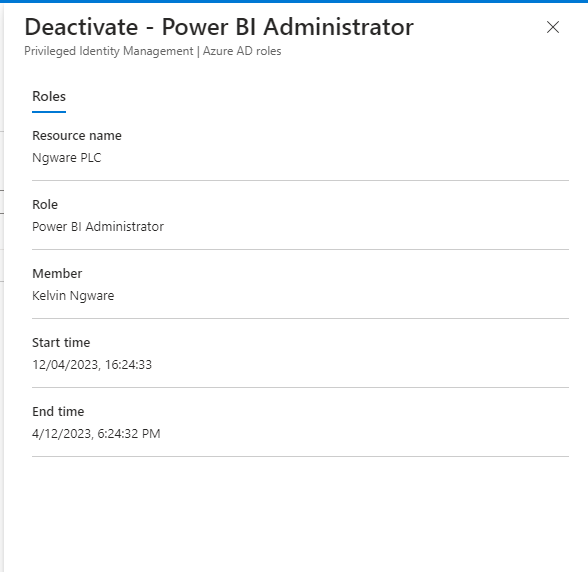
Once the user is done with their activities, they also have an option to deactivate the role from the PIM page.
Great article. I like the Power BI admin role settings section.