
What is Microsoft Purview Endpoint DLP?
As data becomes increasingly important for businesses to operate, it also becomes more difficult to manage and protect especially with the increase in use of endpoints to access organisation data, collaboration platforms and cloud services/applications. There is need for a tool that can monitor and control data activities in these devices
Microsoft Purview Endpoint DLP is a cloud-based data protection service that is designed to help business meet this need. Endpoint DLP helps businesses identify and protect their data by monitoring and controlling data transfers from endpoints, such as laptops and desktops. It is part of the Microsoft Purview suite of Information Protection services which uses machine learning capabilities to analyze data for potentially sensitive information and apply policies to prevent data loss or unauthorized access of the data
Endpoint activities you can monitor and take action on
Microsoft Purview Endpoint DLP which is part of the Microsoft 365 E5 license, enables you to audit and manage the following types of activities users take on sensitive items that are physically stored Windows 10, Windows 11, or macOS devices. Click here for more information
| Activity | Description | Windows 10 1809 and later/ Windows 11 | macOS three latest released versions | Auditable/restrictable |
| upload to cloud service, or access by unallowed browsers | Detects when a user attempts to upload an item to a restricted service domain or access an item through a browser. If they are using a browser that is listed in DLP as an unallowed browser, the upload activity will be blocked and the user is redirected to use Microsoft Edge. Microsoft Edge will then either allow or block the upload or access based on the DLP policy configuration | supported | supported | auditable and restrictable |
| copy to other app | Detects when a user attempts to copy information from a protected item and then paste it into another app, process or item. It also detects when a user copies and pastes content among files within the same app, process or item for Word, Excel, and PowerPoint. | supported | supported | auditable and restrictable |
| copy to USB removable media | Detects when a user attempts to copy an item or information to removable media or USB device. | supported | supported | auditable and restrictable |
| copy to a network share | Detects when a user attempts to copy an item to a network share or mapped network drive | supported | supported | auditable and restrictable |
| print a document | Detects when a user attempts to print a protected item to a local or network printer. | supported | supported | auditable and restrictable |
| copy to a remote session | Detects when a user attempts to copy an item to a remote desktop session | supported | not supported | auditable and restrictable |
| copy to a Bluetooth device | Detects when a user attempts to copy an item to an unallowed Bluetooth app (as defined in the list of unallowed Bluetooth aps in Endpoint DLP settings). | supported | not supported | auditable and restrictable |
| create an item | Detects when a user creates an item | supported | supported | auditable |
| rename an item | Detects when a user renames an item | supported | supported | auditable |
In the below video I will take you through the end user experince for some of the activities you can monitor and block.
Scenario: I have configured Microsoft Purview Endpoint DLP policy to prevent Copying, Printing and Uploading of Sensitive Information to third party cloud storage and personal storage.
How wan we achieve this?
With Microsoft Purview Endpoint DLP, you must onboard the devices you want to monitor to Microsoft Purview, this can be done in several ways.
- Using a local onboarding script- Used for onboarding up to 10 devices.
- Using Microsoft Intune/Mobile Device Management
- Using Group Policy
- VDI Onboarding scripts
To get started, navigate to Microsoft Purview portal and login with your admin credentials then navigate to settings and select device onboarding then onboarding and select your preferred style of onboarding

Once the devices have been onboarded using your preferred method, verify from the Devices section whether the devices are listed there.

After you are done with the onboarding, we can now configure the DLP policies. Navigate back to the compliance portal and select Data Loss Prevention then policies and click create policy as shown below.

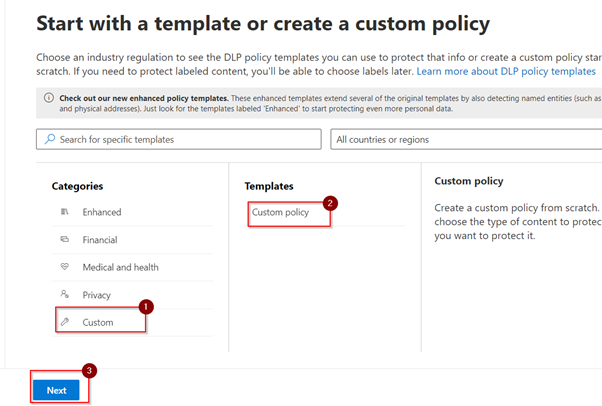
On the next page you can choose to start with available templates or create a custom policy, in our case we will create a custom policy and define our rules from scratch.
Give your Policy a name and a proper description.

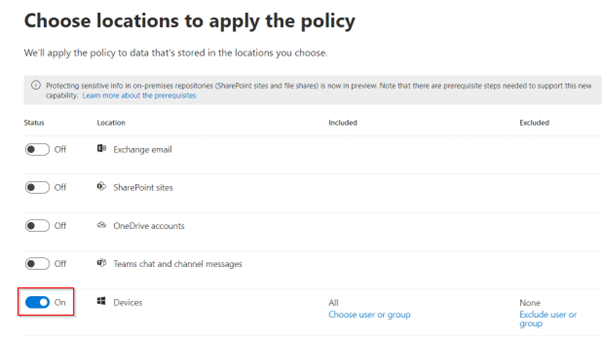
On the choose location to apply the policy select the Location, in our case we select Devices because we want the policy to target devices. You also have the capabilities to exclude specific users from the policy.
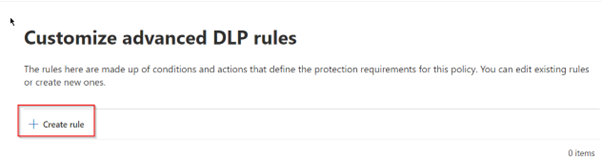
On the define policy settings select create or customize advance DLP rule and click next to create your new rule.
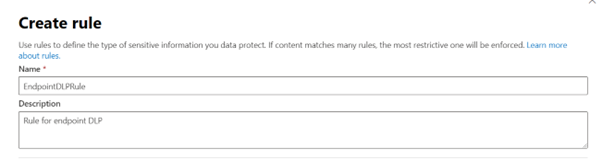
Then give your rule a name and description
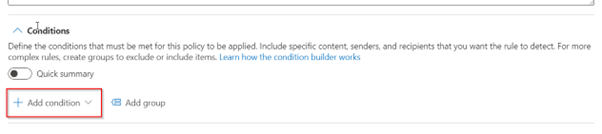
Then create a condition for the rule
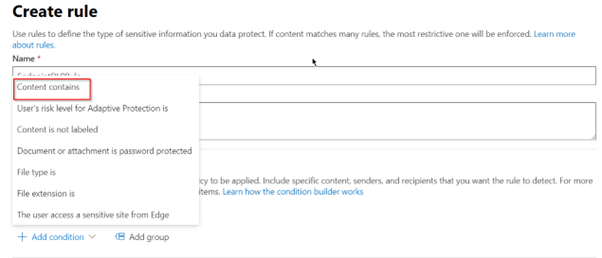
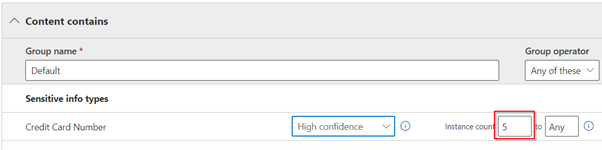
Then select content contains because we want to only focus on content that contains credit card information
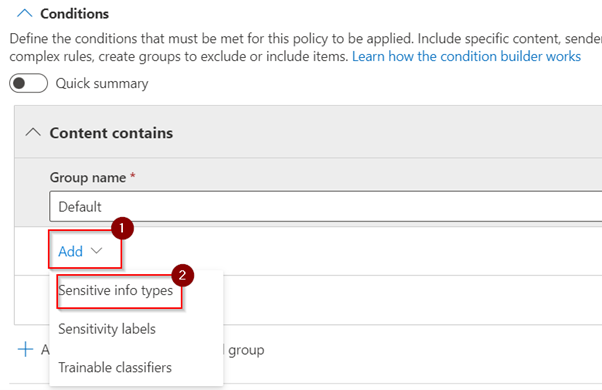
In the content contains dialog, click add and select sensitive info types
Search for and select credit card and click add to define the confidence level. We want to detect only content that is found to have more than 5 credit card numbers, therefore on the instance count section we select 5 to any
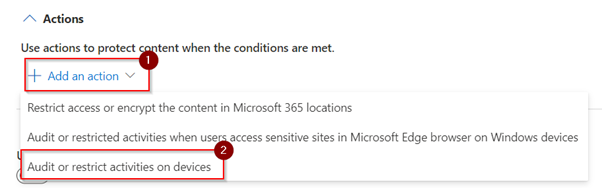
Then we select the action that we want to happen once the condition has been met. Click on add action then select Audit or restrict activities on devices
Under the added actions section within ‘Audit or restrict activities on devices’, tick the option for Upload to restricted cloud service or access from unallowed browsers under the service domain and browser activities. This option allows us to restrict and block the upload of sensitive information to cloud service domains or unallowed browsers. We will use the option for block with override for now to minimize productivity interruption.

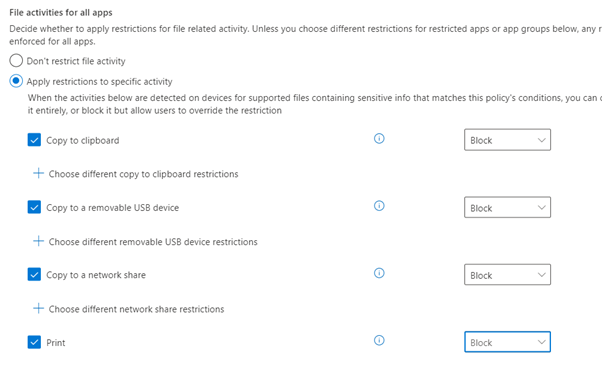
Under the filter activities for all apps section, select apply restrictions to specific activity then tick the options for Copy to clipboard, copy to a removable USB device, Copy to a network share and Print. In this section we will use the block option to completely block such activities
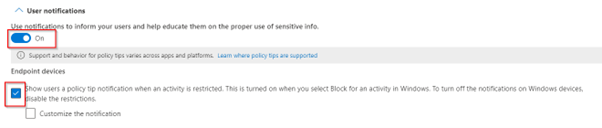
Select the turn on option under notifications and tick the option under Endpoint devices, this option makes it possible for users to get notification when a policy violation is identified. You can use the default notification or customize your notification.
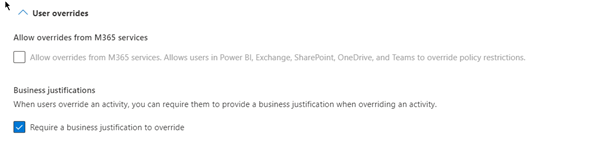
You can choose to give your users the option to override the policy, but they have to give a business justification. This option is helpful when a legitimate reason exists to perform the specific activity
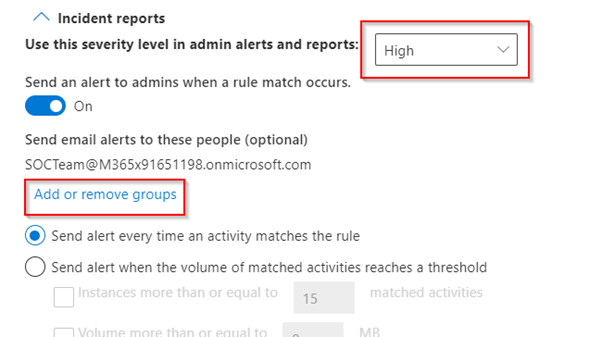
Finally you can select whether any policy violation should be raised as an incident, the severity and also the people you would like to receive the alert.
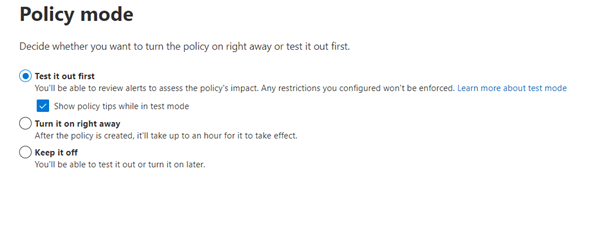
Then click save and select next to complete setting up the policy. Ideally, it as advisable to deploy the policy in test mode first so that you can monitor its performance before turning on the policy.
Additional Endpoint DLP Configurations
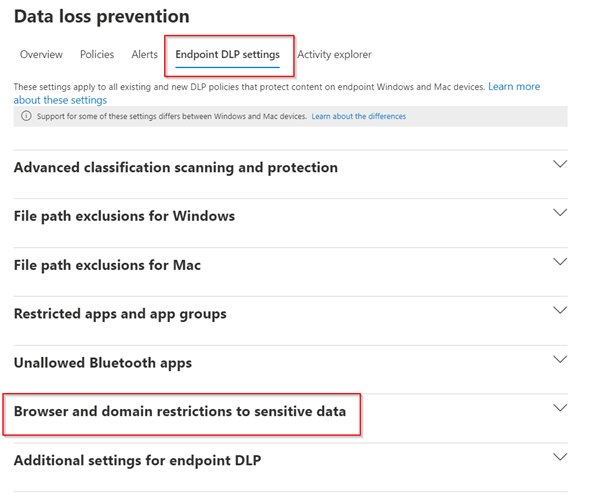
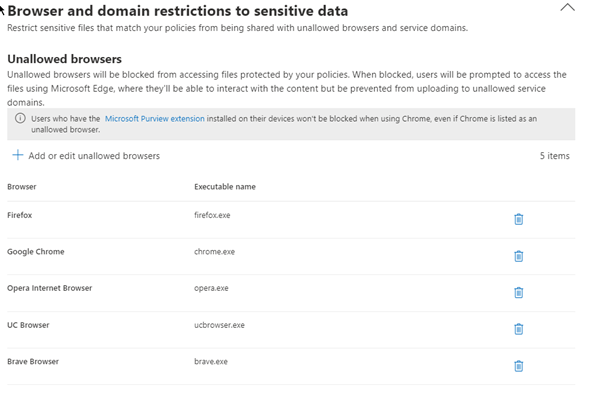
From our created policy, we defined an option to monitor and block the copying, printing, and uploading of sensitive data to un allowed browser domains. To configure the allowed browser domains, navigate to Endpoint DLP settings and select Browser and domain restrictions to sensitive data.
Here you can add the unallowed browsers, when you add a browser to this list, this means that the browser won’t support opening the file that contains the sensitive information
Then under service domains select allow and add SharePoint. This is very restrictive as it means that sensitive data can only be uploaded to SharePoint. If you want to restrict specific domains, choose block then add the service domains you want to block.

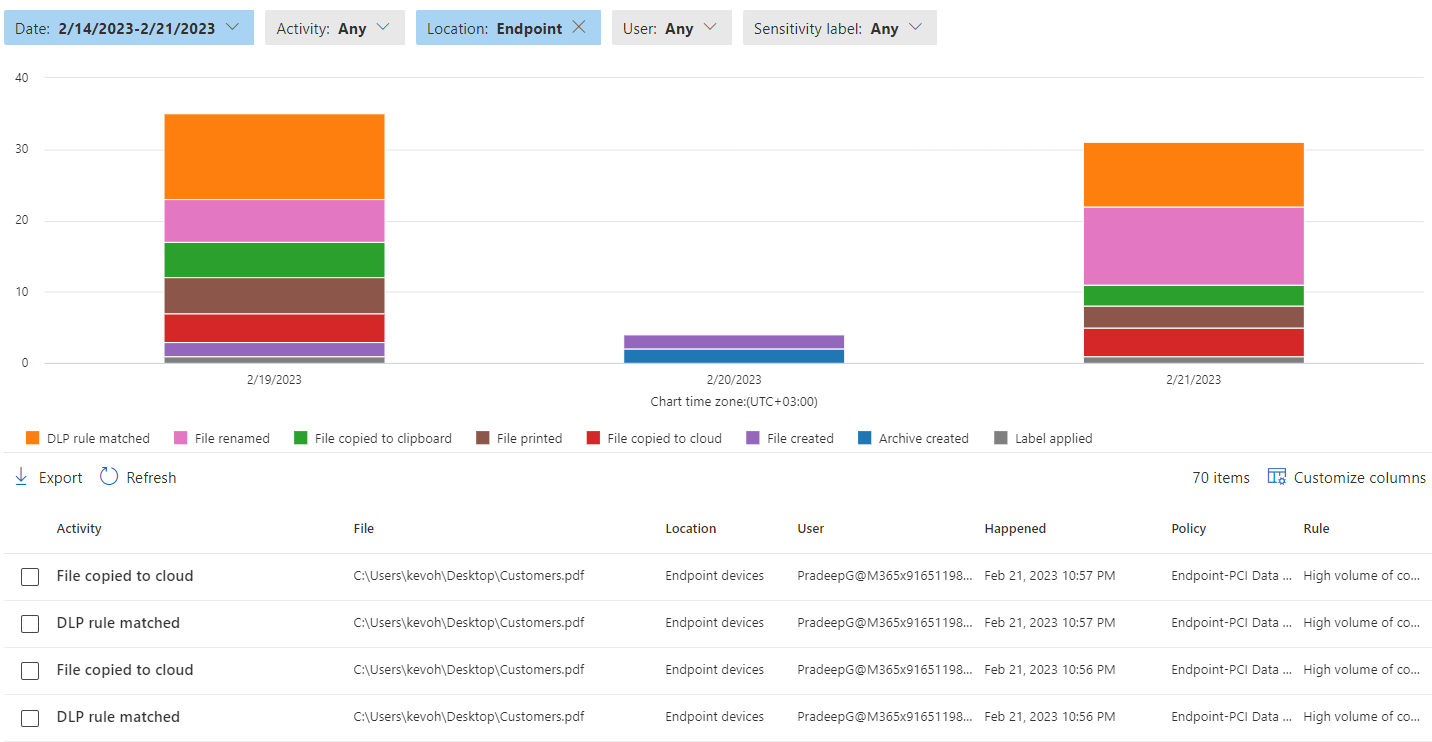
Alerts and Reporting
Alerts can be configured to go to admins for the policy violations and also from the compliance portal under DLP in the alerts sections the alerts will be listed there

